Schedule a post on Facebook is the smart decision of those people who regularly upload posts on Facebook. As Facebook is one of the best platforms for sharing content, where it’s your personal or business account or using it for social media marketing, due to this lot’s of people are curious to know how to schedule a post on Facebook. Then, you have the ability to schedule a post for when it will be published automatically even when you are away.
In this guide we’ll explain how to schedule a post on Facebook using everyday English [this might help if you’re using your phone or desktop computer].
Page Contents
Why Should You Schedule Posts on Facebook?
We all know the few benefits of scheduling a post for face, but here we understand what are the more benefits of scheduling posts on Facebook:
Save Time: When you upload a post manually every day it takes time, but scheduling a post on Facebook saves your time.
Post at the Best Time: It might be a bit difficult to post when your followers or audience are most active where the scheduling feature of Facebook helps you to post automatically when your audience is active.
Stay Consistent: When you post consistently on social media platforms like Facebook, it gives you a good result where scheduling posts on Facebook allows you to stay consistent.
Better Engagement: When you post when your audience most actively helps you to get engagement on your Facebook, schedule of posts on Facebook to help you in better engagement.
Now we will learn how to schedule a post on Facebook in an easy step-by-step process.
How to Schedule a Post on Facebook by Desktop
If you’re posting on Facebook through your desktop or laptop you can follow these steps to schedule post on Facebook:
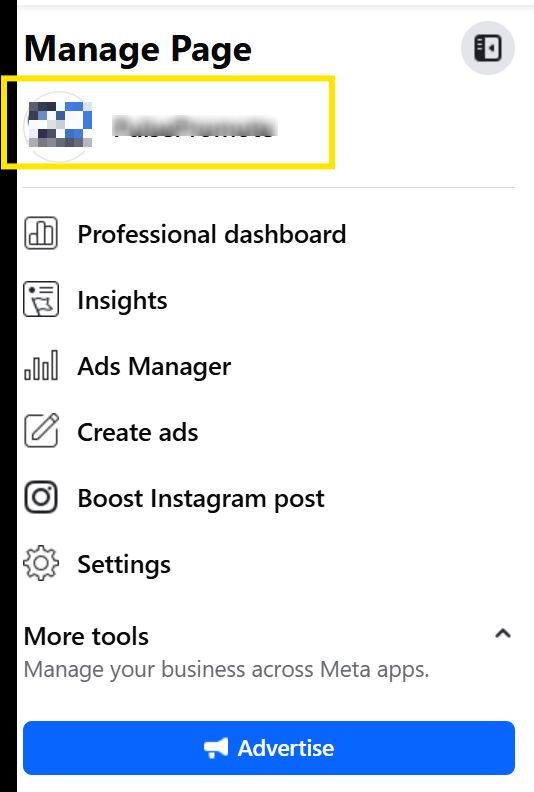
Step 1: Go to Your Facebook Page
First you have to log in to your Facebook and come to your “Facebook page” whether you use it for your business or social media marketing.
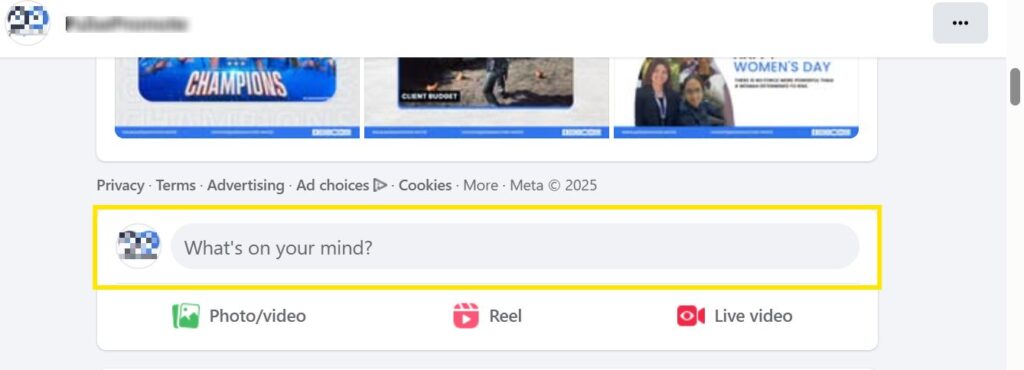
Step 2: Create Your Post with “What on Your Mind”
When you come into your Facebook page, scroll down and click on the “What’s on Your Mind ” option where lots of options will come like Type your caption, and photos/videos, tag people, or include hashtags—just like a normal post.
Step 3: Choose Date & Time
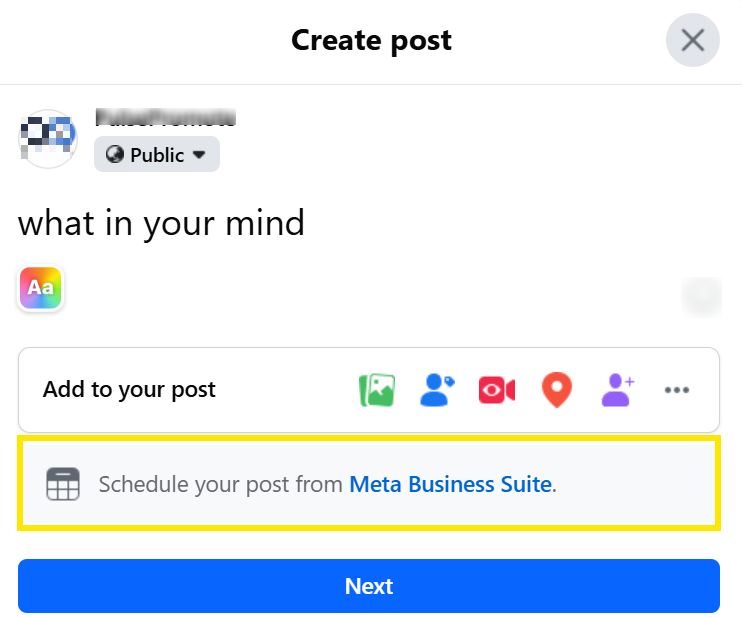
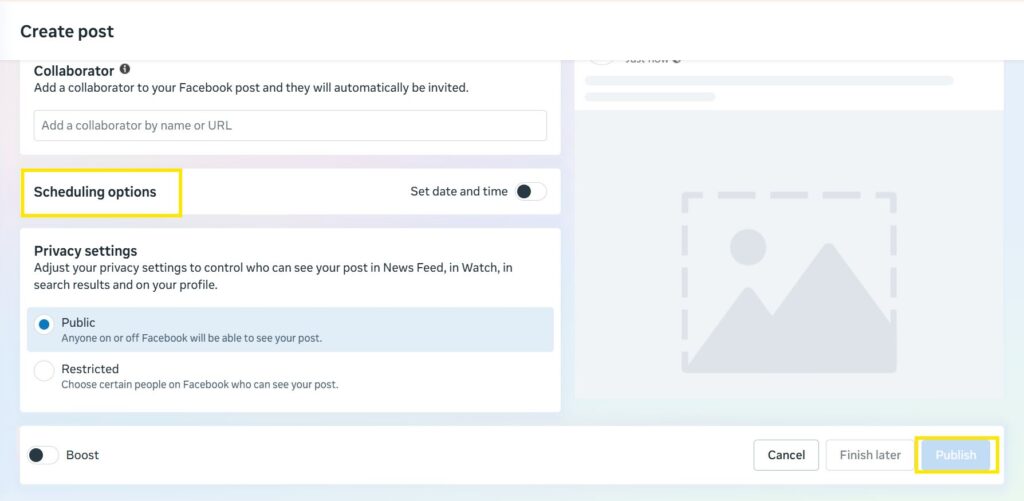
Then click on “Schedule Your Post”, When you click on “Schedule” there a pop-up will come where you can choose date and time according to your followers or audience active time.
Step 4: Create your Post
Now in this step all you have to do is create your post you want to schedule on Facebook.
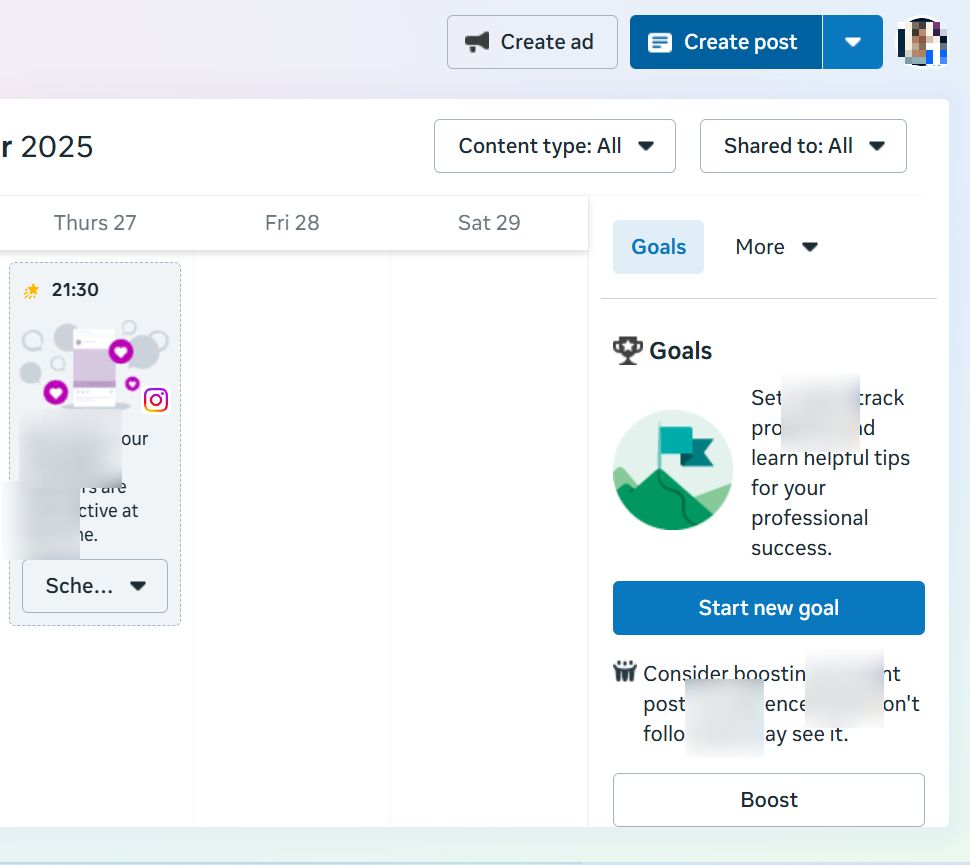
Step 5: Schedule & Confirm
Now this is the almost final step where you have to schedule your post and then simply upload it. Your post will now be saved and will automatically publish at the scheduled time.
How to Schedule a Post on Facebook in Mobile App
Now this process to schedule posts through your mobile app, so follow these steps to schedule posts on Facebook.
Step 1: Open the Facebook App
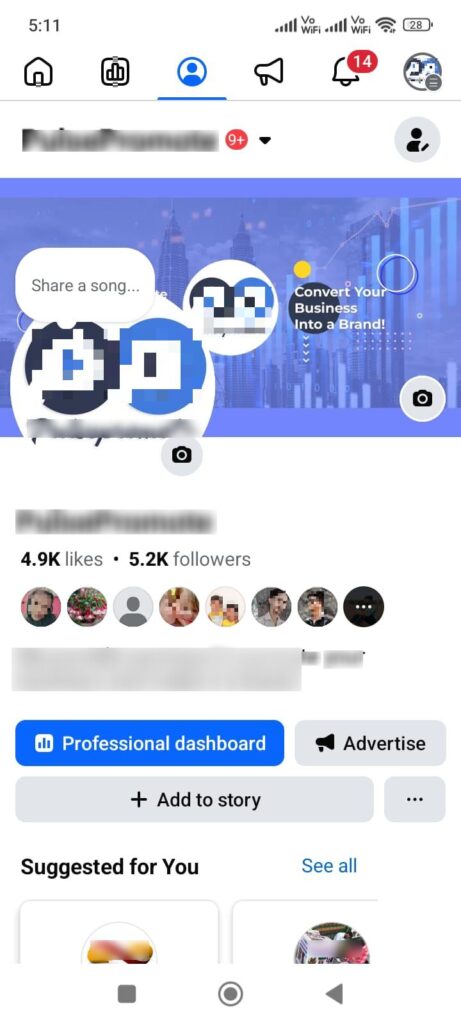
Starting with opening your Facebook and going to your Facebook Page.
Step 2: Create a Post
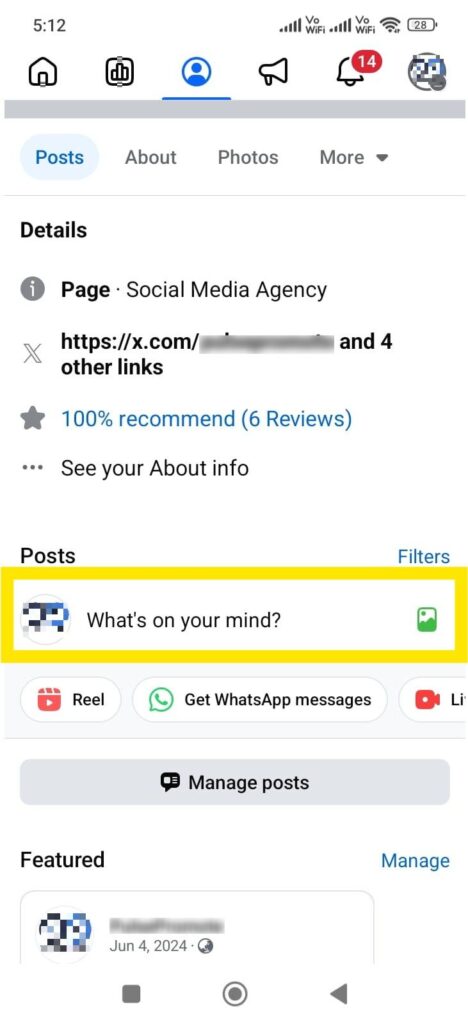
Once you land on your page, all you need to is scroll down the screen and click “What’s in Your Mind” to post. Write your caption, add media as usual and then customize the post.
Step 3: Create your Post
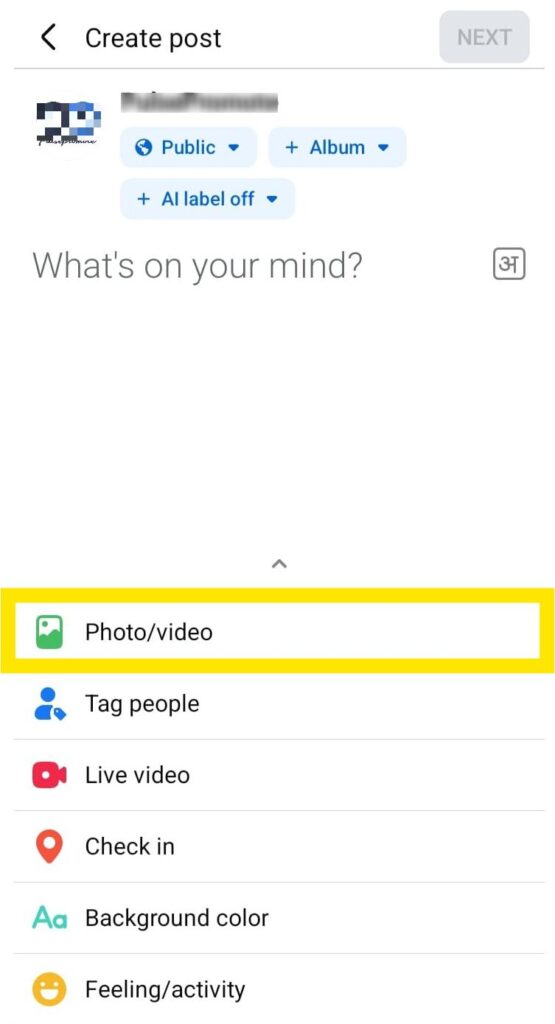
When you click on “what’s on Your Mind” you will land on the “Create a Post” page where you have to click on the “Photo/Video” option to create a post.
Step 4: Select Photo and Video
Now in this step select photos or videos that you want to schedule and when you select a post just click on the “Next” button at the top-right corner.
Step 5: Check Scheduled Posts
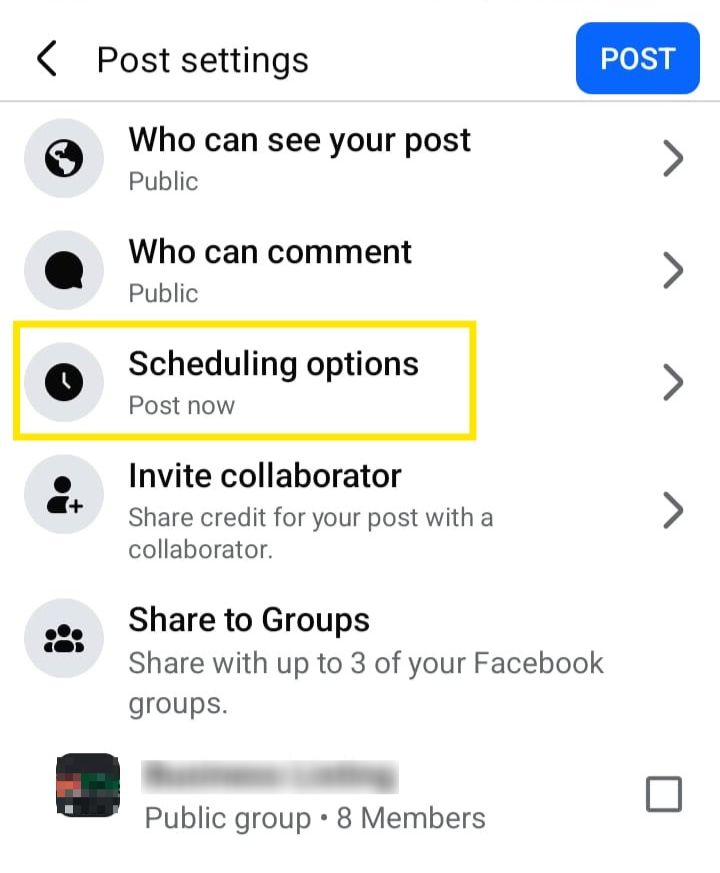
Now you are at Post Setting page where you have to click on “Schedule Option” to schedule your post.
Step 6: Schedule Your Post
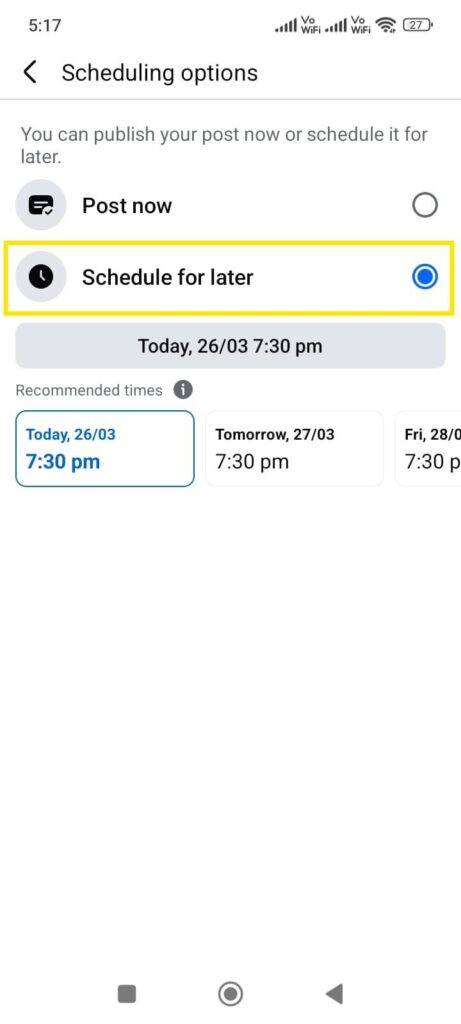
This is the final step where you have to set the date and timing to schedule your post by clicking “Schedule for Later”.
Final Thoughts
As we covered the steps of how to schedule a post in Facebook where it helps you in saving your every day time to post manually. Also, scheduling post features ensure your business page keeps active even when you’re busy. Whether you post through your mobile phone or desktop the step-by-step process takes you to schedule posts on Facebook.
Now as you understand the process of scheduling a post in Facebook, it helps you in saving you daily time that you were wasting in manual posting. Another, this post scheduling feature enables you to put together your posts ahead of time and concentrate on the more pressing items while Facebook automatically publishes it for you.
Q1. Is it possible to preschedule Facebook posts from my personal profile?
Ans. Facebook allows scheduling posts on Facebook for its Pages (business accounts) only. For personal profiles, you will need Meta Business Suite or third-party services such as Hootsuite.
Q2. How can I edit schedule Facebook post?
Ans. Visit your Page “Scheduled Posts” section on PC or Activity Log on mobile, hover over the post and click “Edit” to change the content or timing.
Q3. How far in advance can I schedule posts?
Ans. There’s always space to move in your content when you can schedule Facebook posts up to 6 months in advance.
Q4. Do scheduled posts perform worse than manual posts?
Ans. No, Schedule posts for Facebook show the same as when you post manually and receive equal visibility. Use Insights to find when your audience is most active.
Q.5 Can I schedule different post types (polls, events, videos)?
Ans. You can schedule every type of post with Facebook, that include images, videos, poll or events and links like you schedule posts normally.

